I really, really love drawing with Sharpies, and I really love Photoshop, but I usually just use one or the other. Most of my Sharpie doodles I've left as they are, besides adjusting colors, while pencil and ink drawings tend to be the ones that I really work on and make all painterly. But this time I did both!
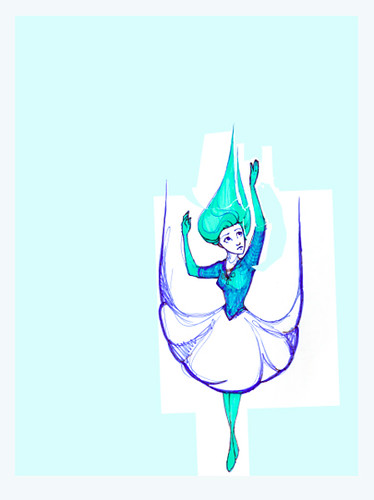
Here's the Sharpie scribble straight off the scanner:

I wasn't intending this to be a finishable piece, just a concept scribble, so I decided to give it lots of love to help it reach its full potential.
The scanner messed up the colors pretty badly, so the first thing I did was to fix them by creating adjustment layers for hue/saturation and curves. Adjustment layers are way better than just adjusting the image itself, because you can go back in, tweak the effects, and scale them back a bit until you're happy with it. Then you just merge them down onto the image!
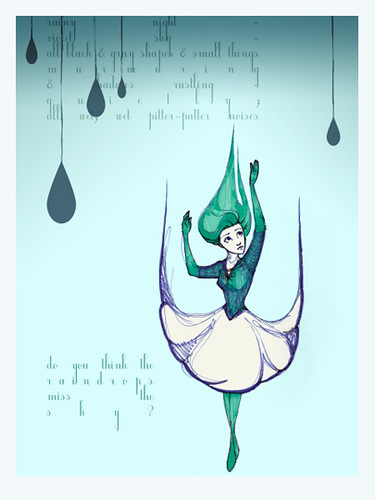
I also started thinking about composition right off the bat for this piece. Then I brutally chopped off her left arm and reattached it, and gave her a haircut on one side to make room for the new pasted-on arm.
I roughly painted over the holes in her body and hair, set her layer to Multiply, and put an off-white layer under her to separate her from the background. I worked on the composition alongside the figure. I put in the gradients and textures very early in the process, but I turned off their visibility whenever I was working on the layers underneath, to keep the colors consistent. If you've ever tried to paint on a layer underneath another one, especially one that's on Multiply or something, you'll know you can just forget about the eyedropper.
Time to paint! I put a new layer on top of the lines, basic shading, and flat white to paint on, so everything would be nice and blended.
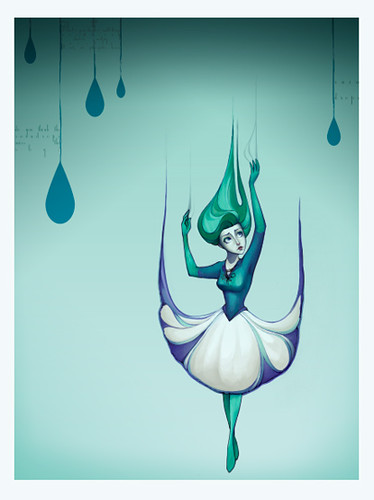
Obviously I tried some different things with the shape of her skirt and the streams coming off her hands, which I really liked, but eventually took off because they just didn't work. Also I'd adjusted the colors on the background and gradients at this point, because the textures I'd put on that aren't currently visible made the image a little too bright and I wanted to counteract that.
Looks almost done, right? HA!!!
At this point I realized a couple things:
1. Her bottom half was really puny in proportion to the rest of her body.
2. I'd figured out the aspect ratio wrong, and the above images were a weird shape somewhere between 8x10 and 8x12.
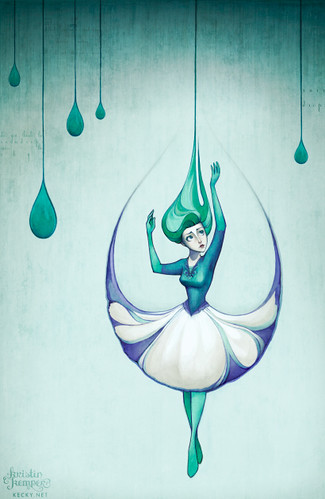
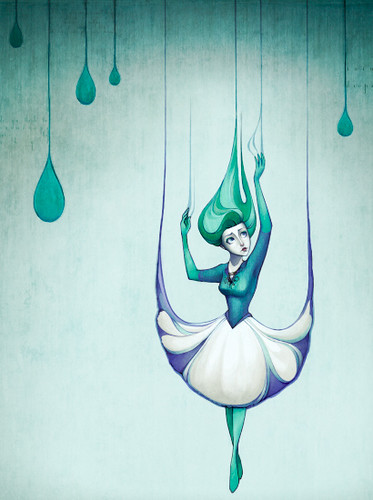
I fixed both of those, and then I fixed the shape of her skirt to be nice and round and raindroppy - this was when I was reminded of how much I love the Liquify filter. It's good times.
After all the shapes looked how I wanted them to, I created another painting layer to add the little details on her neckline and sleeves and face, and just to clean up all the rough spots. And then, THEN I was done.
Lessons learned:
1. Plan composition from the beginning, don't try to create one around a finished figure.
2. Seriously, liquifying is way fun.
3. Double check your aspect ratio!!!
I've got prints of this for sale now in my Etsy shop!
Emjoy :D

1 comment:
I love this! Job well done :)
Post a Comment